I love to DIY (do it your self) soo much, but I don't have free time to do
that. DIY I'm gonna make today is glitter vase from unused jam bottle. The
step is very easy, and the material is cheap.
Materials :
1. White glue / wood glue (I'm using fox brand, but you can use any white glue brand)
2. Clean unused jam bootle (or you can use any glass bottle)
3. Plastic container (for mixing)
4. Brush (better if the hair is soft)
5. Glitter (any color,any size you have)
6. Acrylic paint (match with glitter color)
Let's get started..

Step 1 :
Put white glue in plastic container

Step 2 :
Put glitters in the plastic container, its fun to mix few color glitter, the result will be bright and colourfull

Step 3 :
Add a little bit acrylic paint, just to make the glitter color is more visible

Step 4 :
Mix all materials together using a brush

Step 5 :
Paint the glass bottle using brush. At the first time it will look messy. Wait the glue to dry around 30min, and put another layer of glitter paint, repeat few times until all surface covered by the glitter paint.

Step 6 :
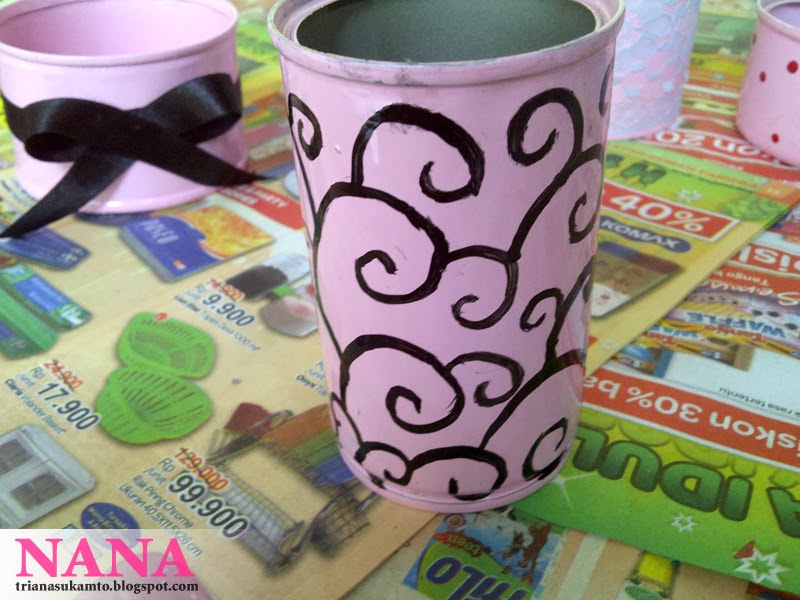
Leave it completely dry 1 day, I decorate it with yellow ribbon, but you can decorate it with lace, germs or any creation you like.

This glitter jbottle can be use for vase, makeup brush holder, candy containers, or coins containers.
Materials :
1. White glue / wood glue (I'm using fox brand, but you can use any white glue brand)
2. Clean unused jam bootle (or you can use any glass bottle)
3. Plastic container (for mixing)
4. Brush (better if the hair is soft)
5. Glitter (any color,any size you have)
6. Acrylic paint (match with glitter color)
Let's get started..
Step 1 :
Put white glue in plastic container
Step 2 :
Put glitters in the plastic container, its fun to mix few color glitter, the result will be bright and colourfull
Step 3 :
Add a little bit acrylic paint, just to make the glitter color is more visible
Step 4 :
Mix all materials together using a brush
Step 5 :
Paint the glass bottle using brush. At the first time it will look messy. Wait the glue to dry around 30min, and put another layer of glitter paint, repeat few times until all surface covered by the glitter paint.
Step 6 :
Leave it completely dry 1 day, I decorate it with yellow ribbon, but you can decorate it with lace, germs or any creation you like.
This glitter jbottle can be use for vase, makeup brush holder, candy containers, or coins containers.